Working With Your Divi Theme
A Powerful Builder with a Little Learning Curve
So you’ve got your new swanky website all set up, but you want to change something. With some other website developers you might need to hire a programmer or developer, but I set my clients up with the visual builder so it is much easier to make modifications by yourself.
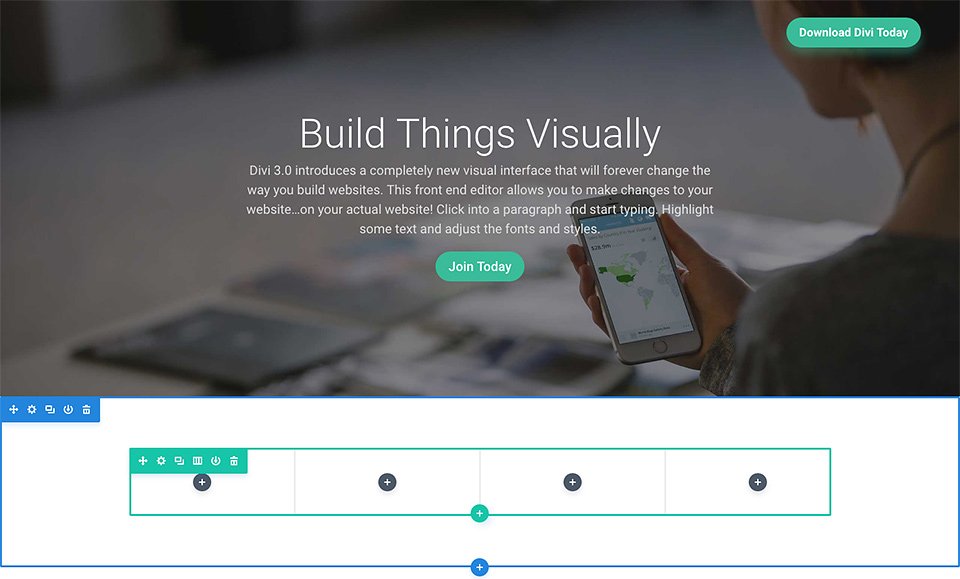
To get started, when logged-in navigate to the page you want to change and click the Enable Visual Builder button on the top admin bar:
![]()
I’m going to explain some of the major and important parts of the visual builder so you can work on it by yourself. Don’t worry about making mistakes, there is a “Revisions” option on pages and posts that will let you go back to old versions.

The Overview
Three Elements
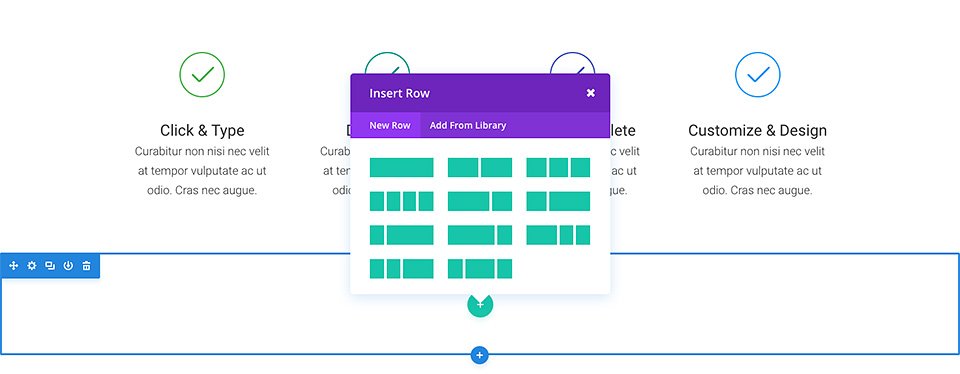
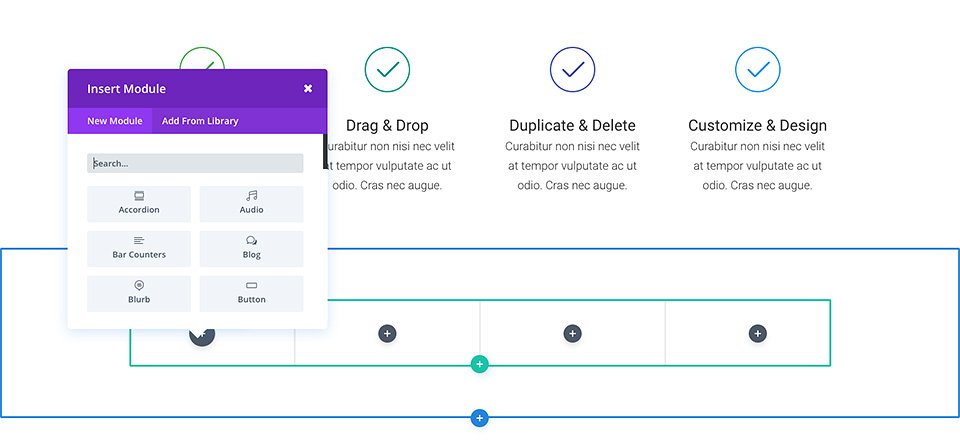
The parts of the Visual Builder are seperated into Sections (blue), Rows (green) and Modules (grey).
The sections contain the background information, usually just colours and images, and provide some padding between sections so your content isn’t all smushed together.
Think of sections like a canvas. Usually they are one colour and provide a space to paint other things onto.
The rows contain everything the browser needs for content organisation, and provides the positioning for you to place the content. When you open a new row you are given an option to choose a multitude of different stylings. You could, like in the picture above, choose to have the content seperated into three columns. There are many options with the rows that I will get into when I talk about them further down.
The modules contain the actual content of the page. Again there are a plethora of options, each providing a different way of presenting content.
Here is a link to the Divi Documentation page explaining what each one does in detail.
First things first: Try it out!
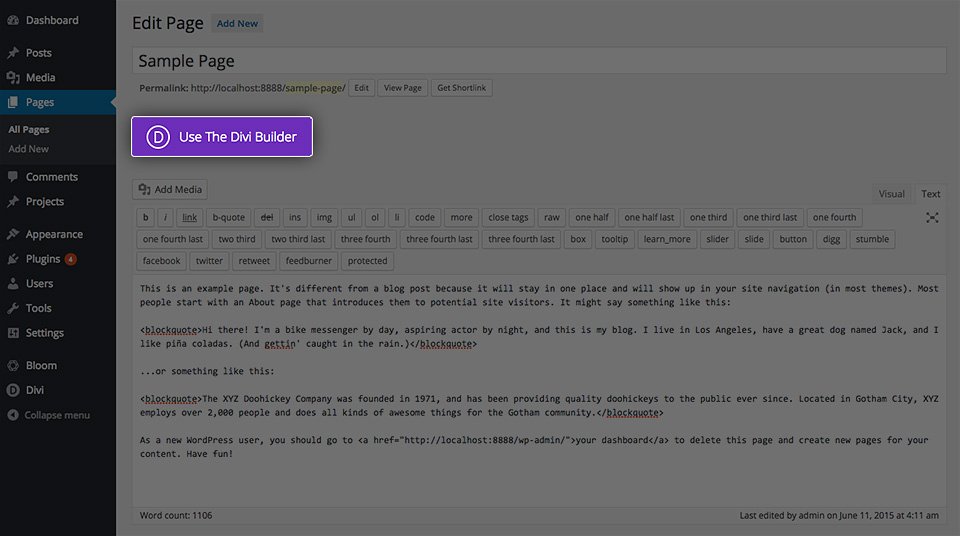
One of the best ways to learn is to try it out, so rather than mess with your frontpage without knowing how to fix it, let’s create a new page for you to practice. Go to “Pages” and click “Add New”. The title can be whatever you like. Then click the “Use the Divi Builder” button:
You’ll see something that looks a bit like this:
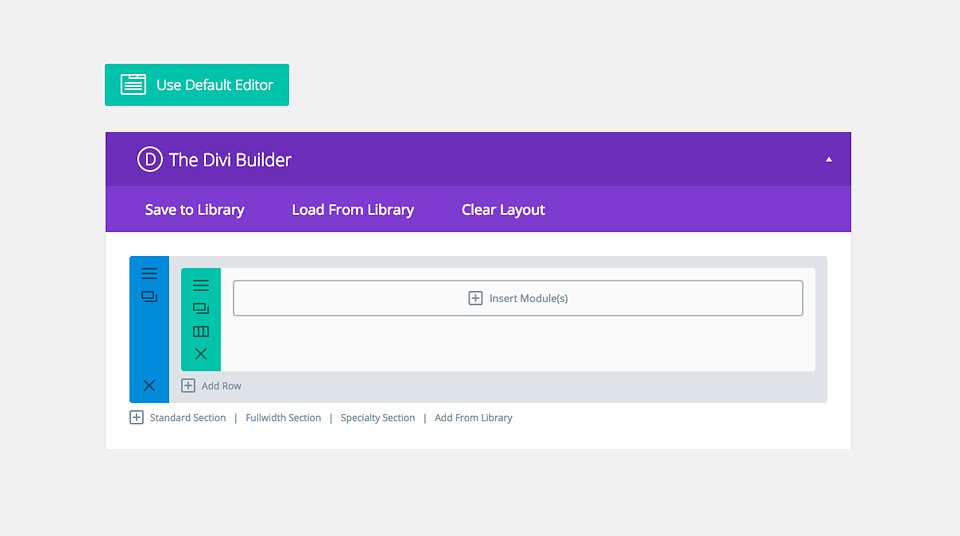
You have your section, row and an empty module slot.
Try inserting a “Text” module into there. This will bring up a text editing section much like the default WordPress one. You can write anything you like in here as well as add images, all within the control of the Divi Theme.
Now let’s try adding an image in its own self-contained module. What we want to do with this is control exactly where and how the image displays.
Adding an Image
In a new section, add a row and choose the box sizes. For this one you can make two columns by clicking the two equal sized green blocks in the middle there, or four by clicking the four columns. Pretty self-explanatory from the icons, right?
When you see the Insert Module box you can scroll down and choose “Image” or type “Image” into the search bar and it will highlight the module for you. Insert one now, and if it hasn’t done it for you already, click the “cog” icon on the grey module to access the module settings.
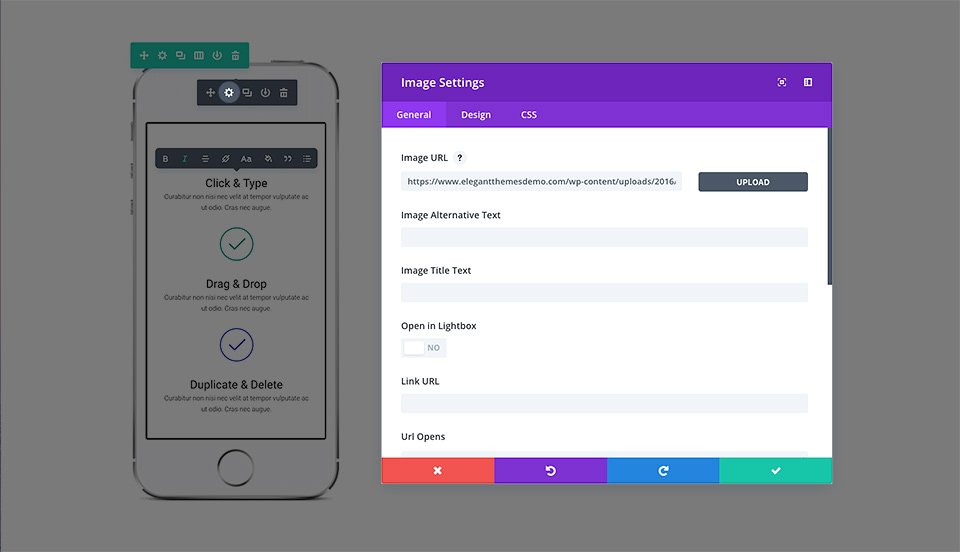
Put whichever image you like into the image slot using the “Upload” button in the General tab. You can choose an elegant animation that brings the picture into frame (or choose “no animation” for static images), add URLs that open when a user clicks the picture and choose alignment of the image if you want to.
In the Design tab you can see a “Max Width” where you can specify a number (between 1-1920 or so) to limit the maximum size of the image.
CSS tab is to add custom scripting to alter the way things are displayed. This requires coding knowledge or at least knowledge of how to assign code that you may have found in other places on the internet.
Tons of modules to play with
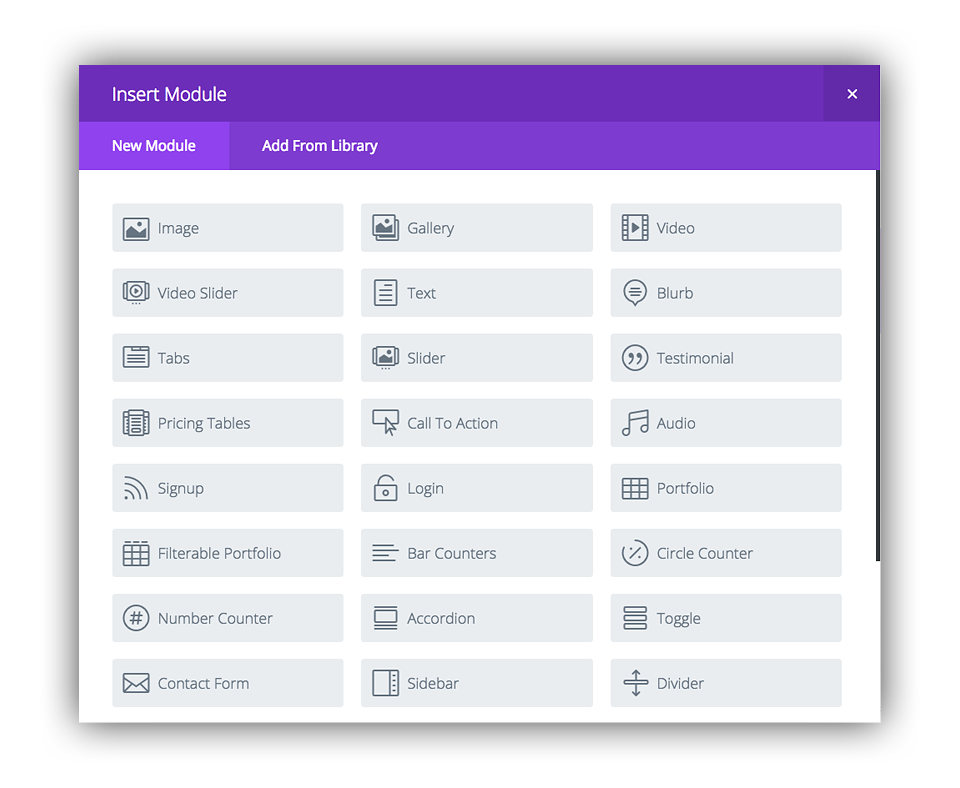
There are a number of other modules to experiment with, so give them all a try in your test page, and check the documentation provided by Divi for detailed explanations of how to operate each one.
%
Half Way Through the Tutorial
Part 2 - More advanced Divi
Well done for following this far. Learning anything new can be tough, but I just want to make sure that you have the tools you need to continue with your site without needing to hire expensive programmers to do it for you.